Once you have completed editing your account details, the next step is to invite and manage contacts for your fundraiser account.
Each account must have at least two authorised contacts to comply with ASF requirements.
This guide explains how to add new contacts, manage existing ones, and what happens once a contact accepts their invitation.
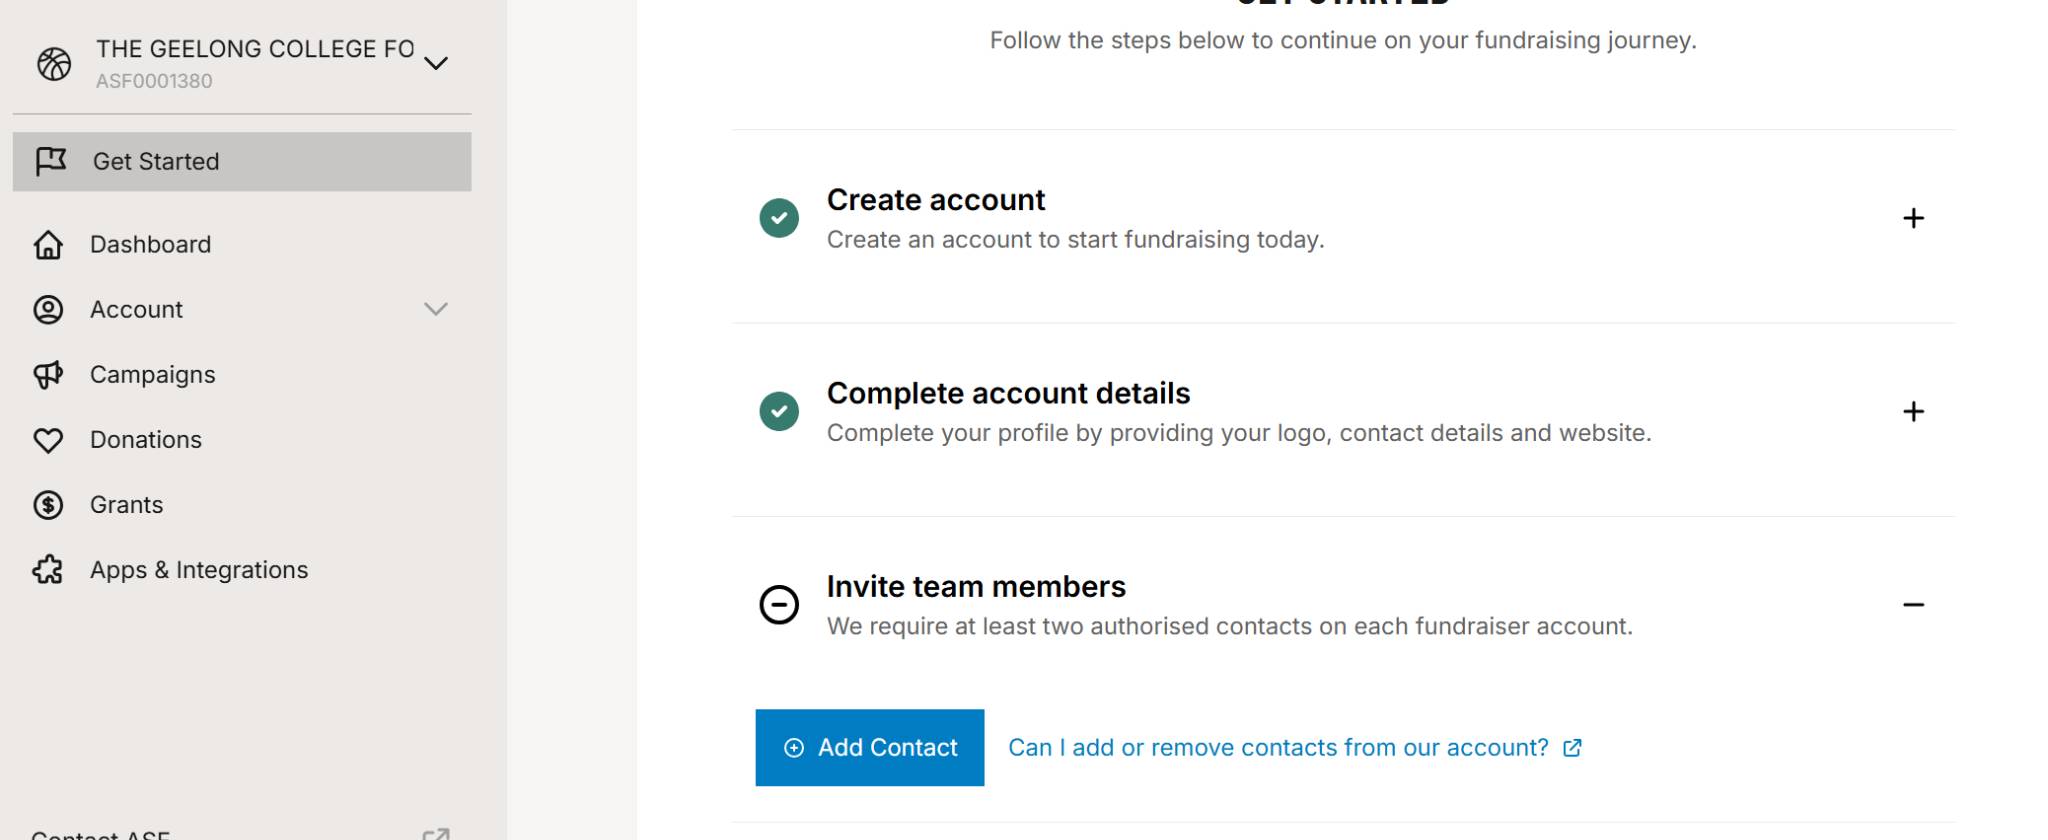
1. Navigate to ‘Invite Team Members’
On your dashboard under Get Started:
-
Locate the section titled Invite team members.
-
Click Add Contact to begin adding a new authorised contact.
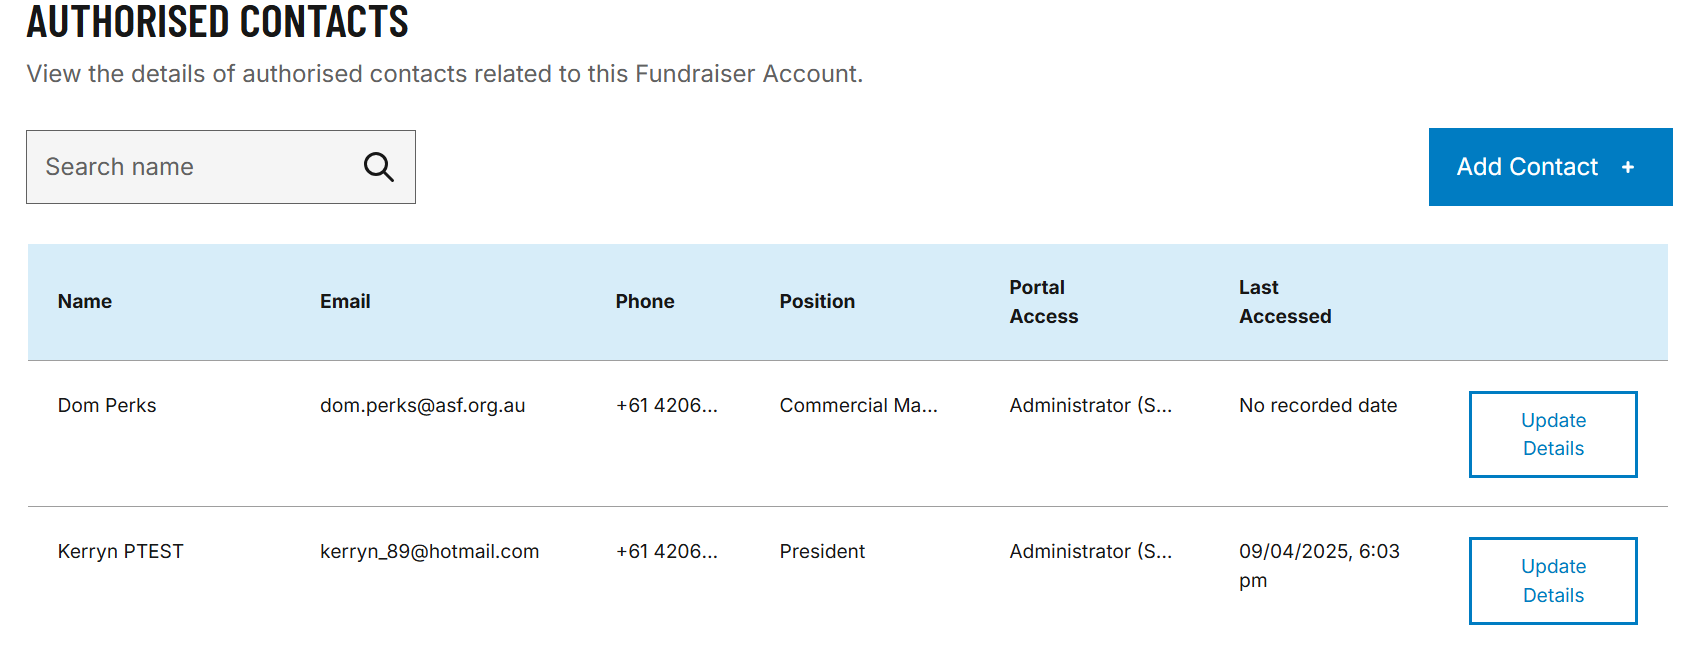
2. View Existing Authorised Contacts
-
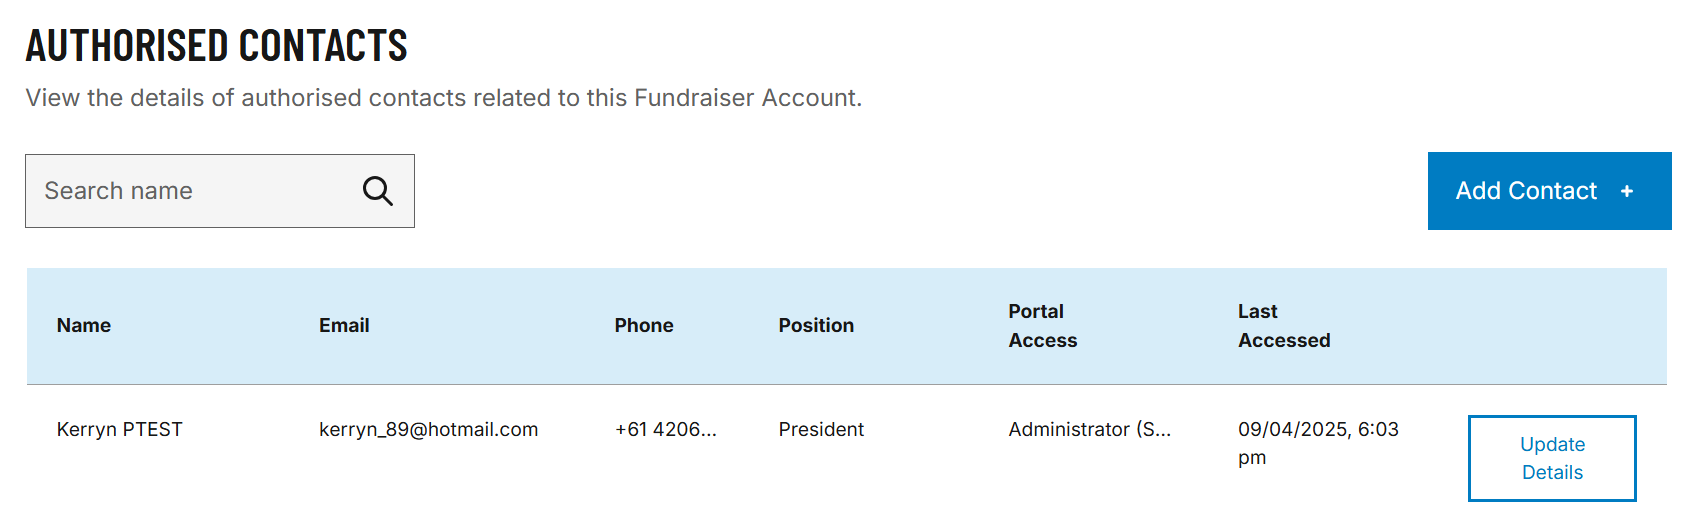
You will see a list of current authorised contacts.
-
Click Add Contact to add a new team member.
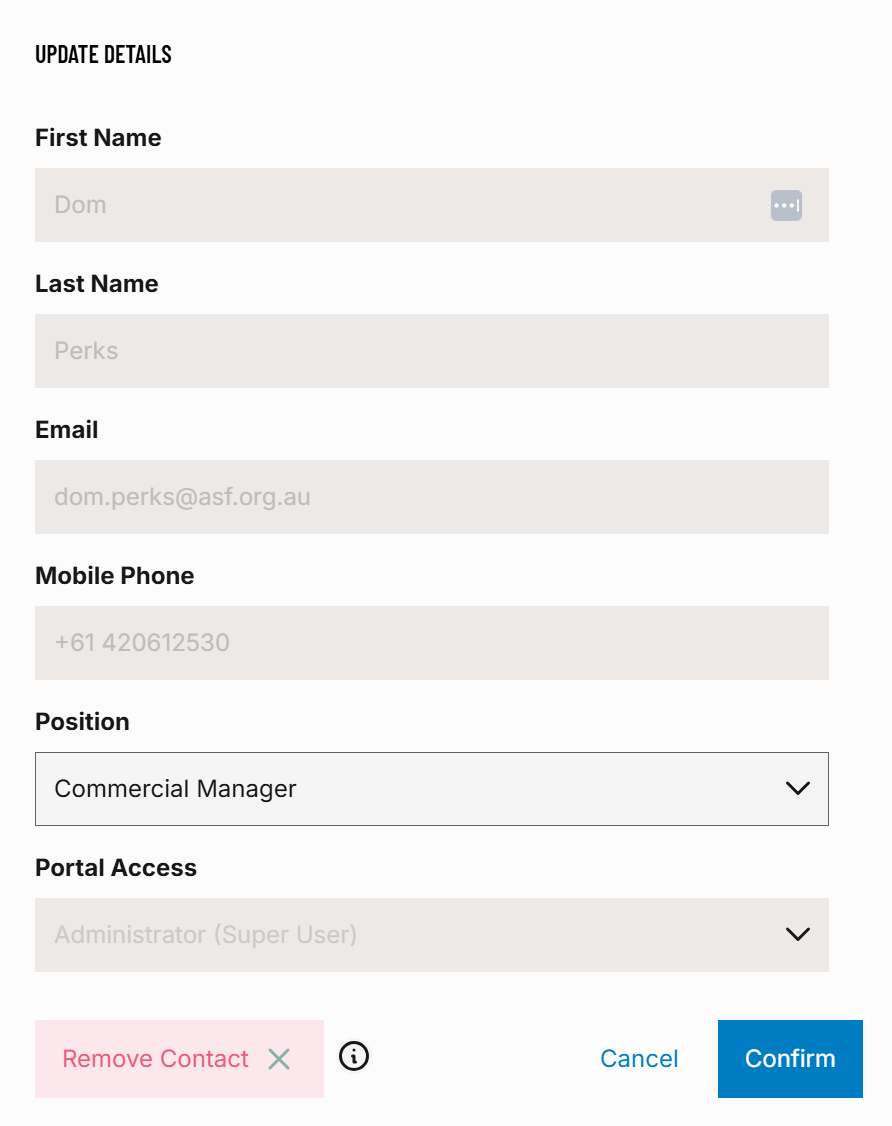
3. Add a New Contact
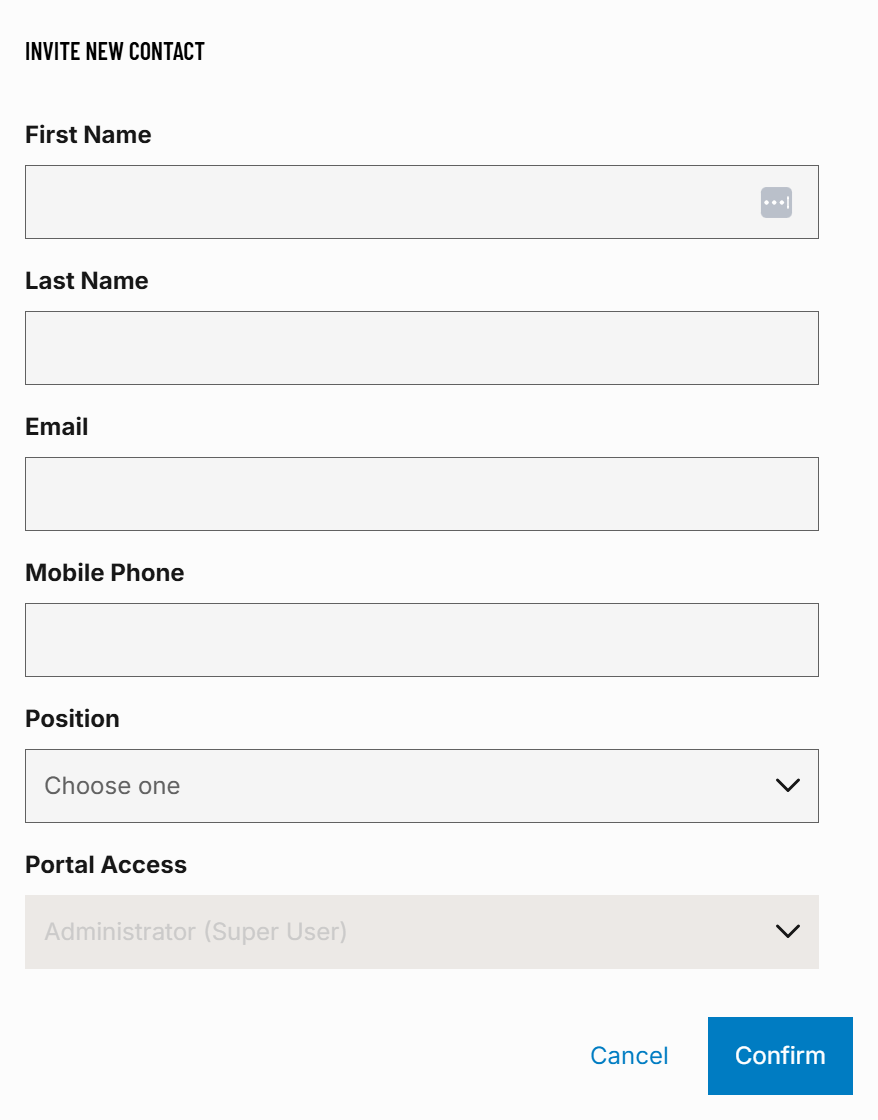
When adding a new contact:
-
Complete the required fields including First Name, Last Name, Email, Mobile Phone, and Position.
-
The Portal Access field will automatically assign the user as an Administrator (Super User).
-
Click Confirm once all fields are completed.
4. Invitation Email Sent
Once submitted, the new contact will receive an invitation email to join your organisation’s fundraiser account. Please see section 6 for details of the steps your contact will need to undertake.
The email they recieve will look similar to the below;

5. New Contact Status
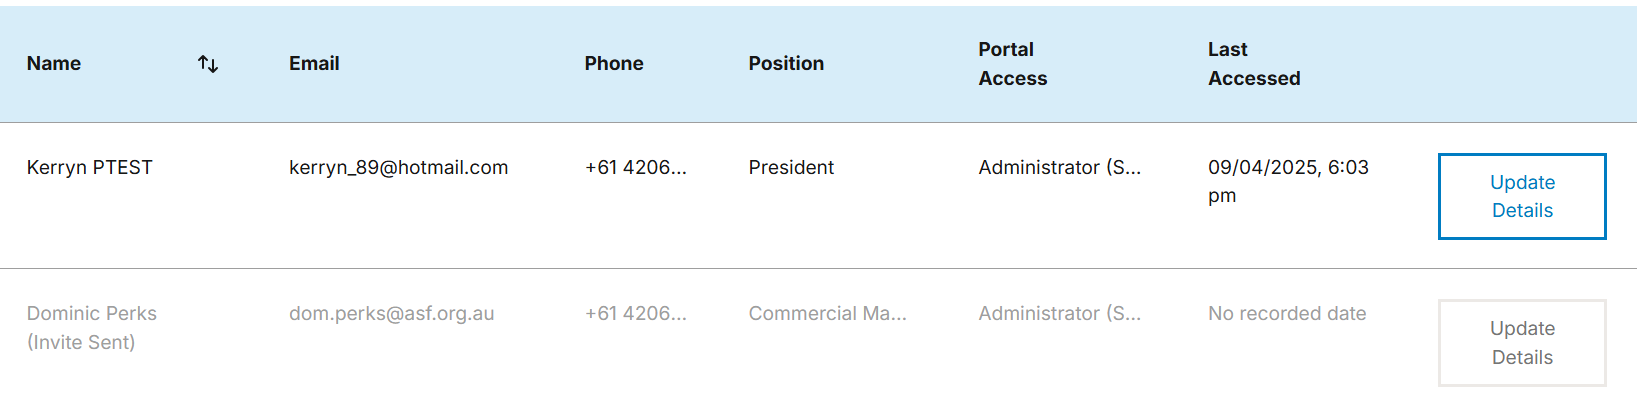
Until the new contact accepts the invitation:
-
Their name will appear with the status (Invite Sent).
-
They will not yet have full portal access.
Note: You will be unable to update or edit their details until they have accepted the invitation.
Note: Please contact the ASF Customer Support Team if you would like to withdraw the invitation.
6. Contact Accepts Invitation
The invited contact will receive an invitation email similar to the below screens;

Once recieved, your contact should;
-
Open the invitation link.
-
Enter and confirm their details (First Name, Last Name, Email, Mobile Phone, Date of Birth).
-
Accept the ASF Fundraising Terms and Conditions.
-
Confirm if they would like to recieve updates from ASF.
-
Submit their registration.

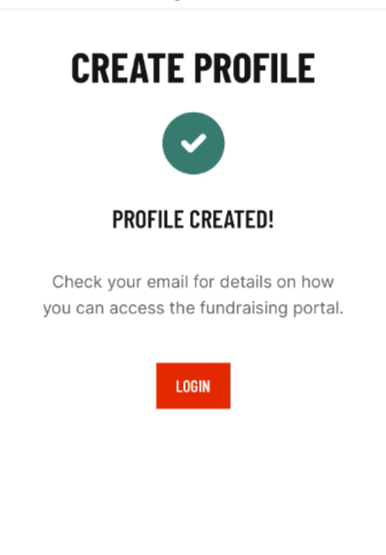
After successful submission, a Profile Created confirmation message will appear.
7. Managing Existing Contacts
Once a contact has accepted:
-
Their status updates to active.
-
You can Update Details for any contact at any time.
-
You can also Remove Contact if needed.
-
-
Important Notes
-
You must have at least two authorised contacts at all times.
-
At least one contact must have Administrator (Super User) portal access. The second contact may be either a Super User or a Fundraising Manager.
-
Contacts are responsible for managing grants, donations, and account activities.
Need Help?
If you require assistance inviting or managing contacts, please contact the ASF Support Team