What is a Campaign Page?
A Campaign Page allows you to fundraise for a specific purpose under your broader Fundraiser Page. It is where you tell the story of a particular initiative — such as building new facilities, supporting a team’s travel, or growing participation in your sport — and where donors will make contributions.
Fundraiser Page vs Campaign Page:
-
Your Fundraiser Page is your main account profile (your club, organisation, or personal fundraising brand).
-
Your Campaign Pages are individual fundraising initiatives that sit underneath your Fundraiser Page.
Each Fundraiser account can create multiple Campaigns to support different causes, projects, or goals over time.
Important: In the previous ASF platform, Campaigns were called Projects. If you are transitioning from the old platform, “Campaign” = “Project”.
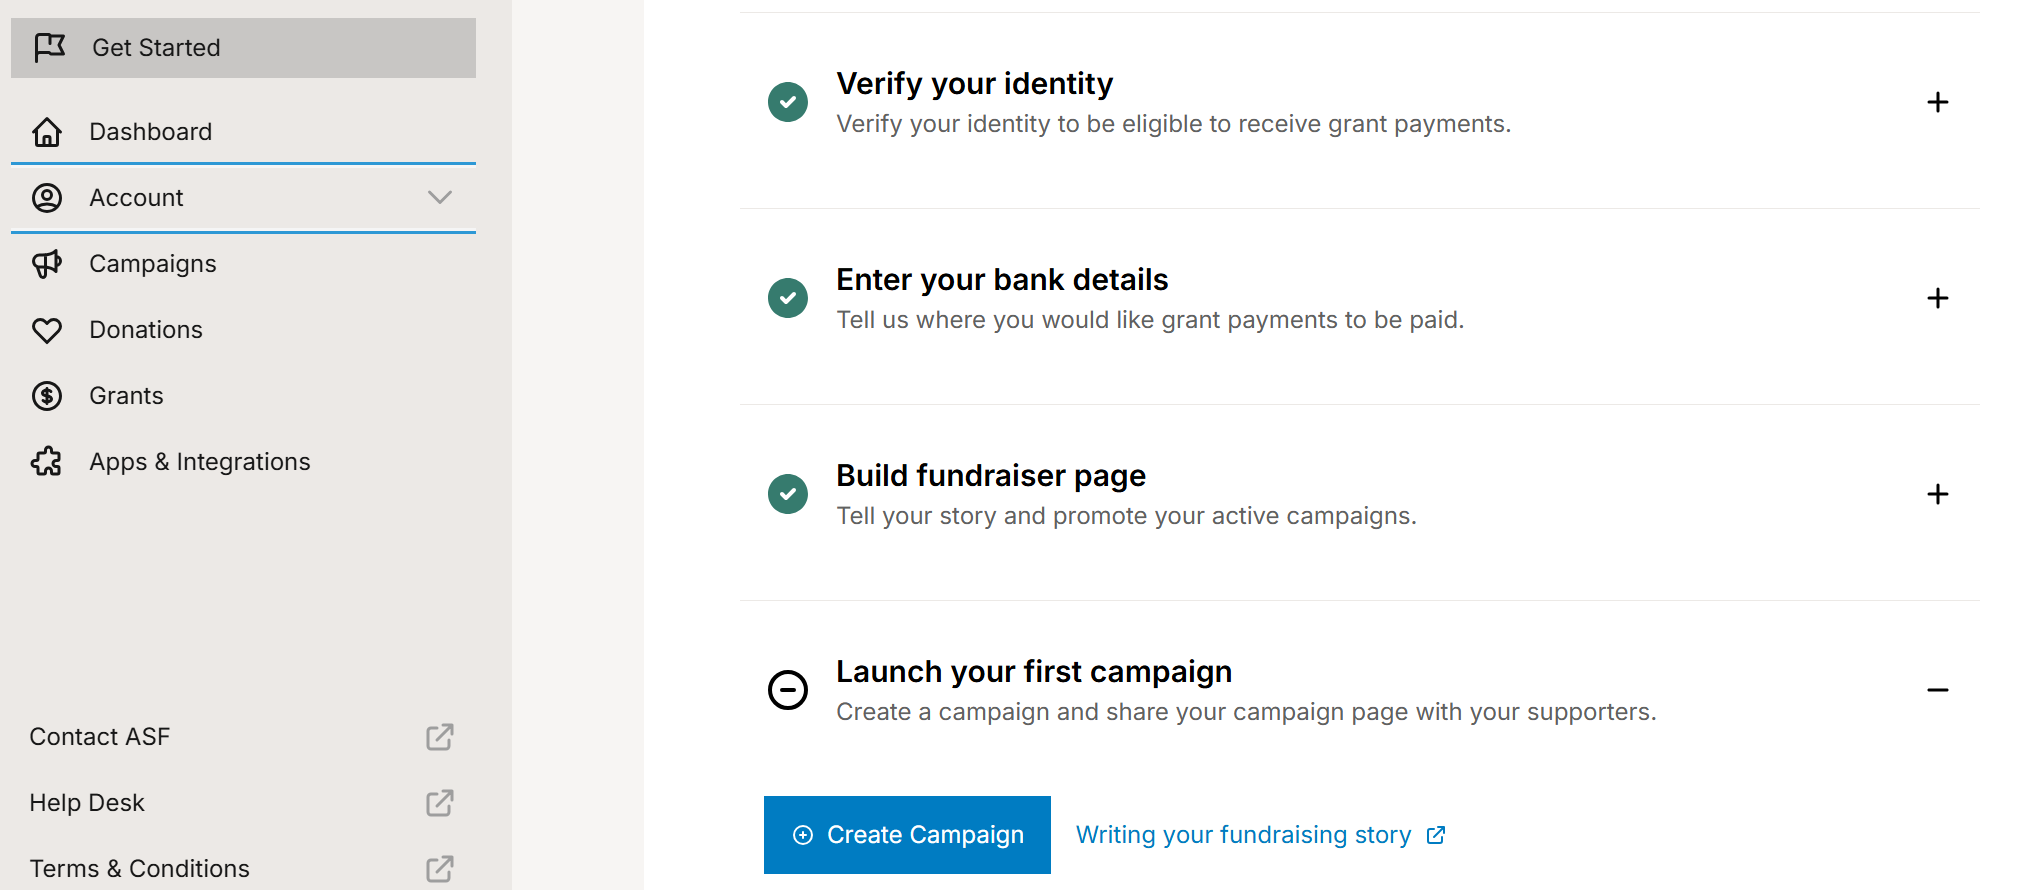
Step 1: Navigate to the Campaigns Area
After completing your Fundraiser Page setup, you can now create your first Campaign.
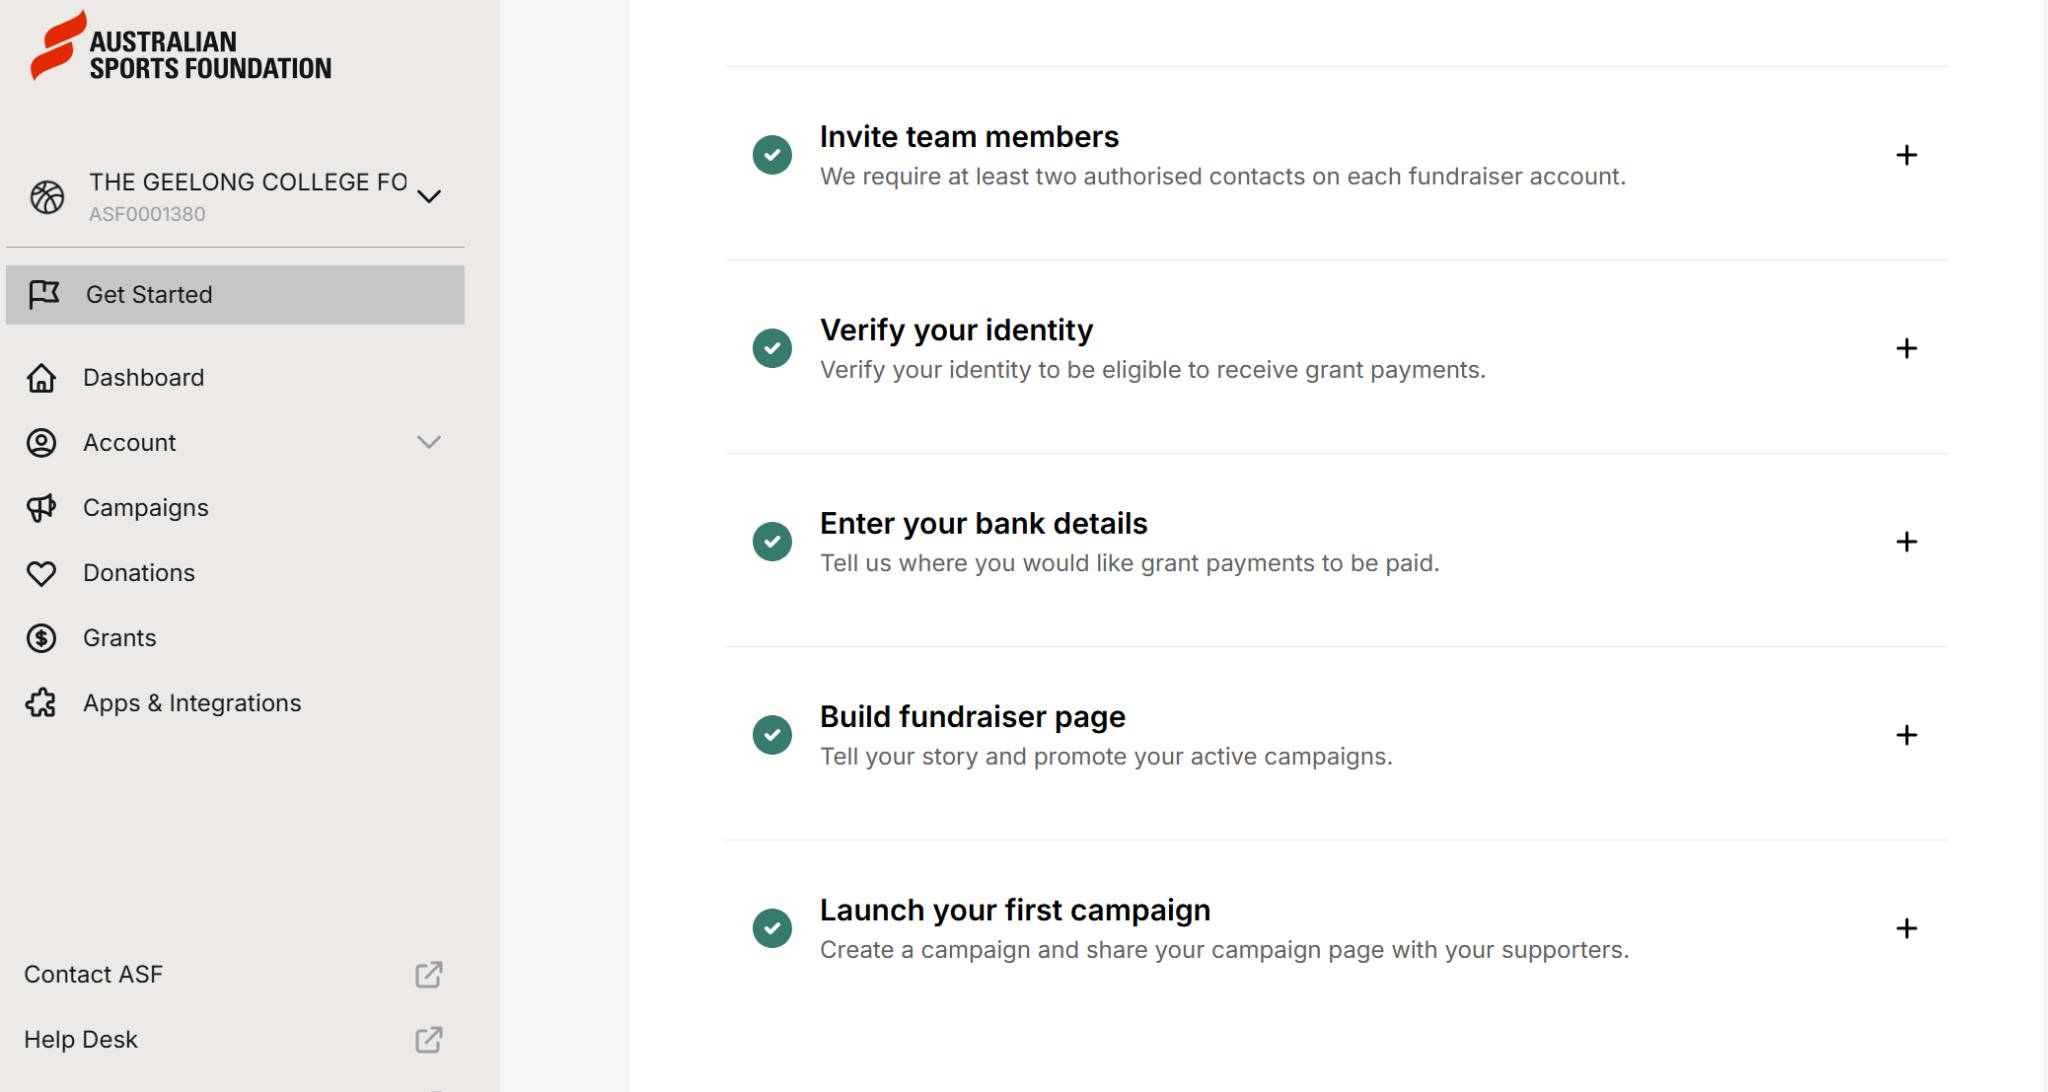
There are two ways to access the Campaigns area:
-
From the Get Started checklist ➔ Click Launch your first campaign.
-
Or from the left-hand menu ➔ Click Campaigns.
-
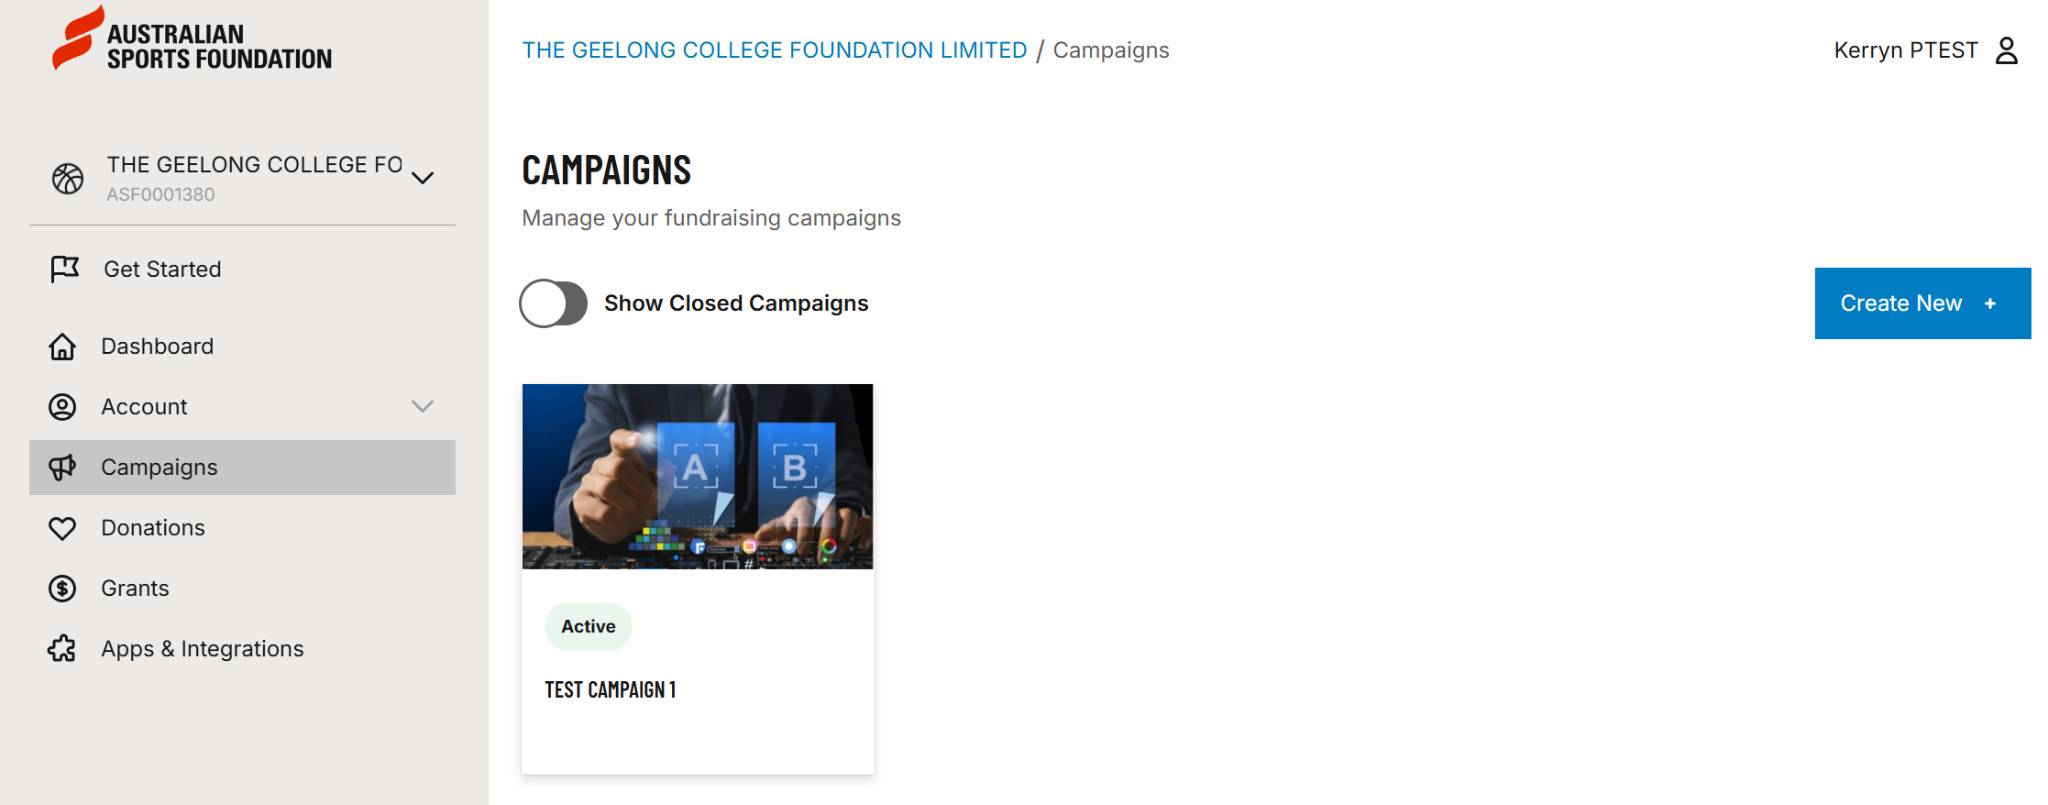
Step 2: Create a New Campaign
Click Create New to begin creating a new Campaign on the right-side of the screen.
Note: You can also view any active, draft or closed campaigns from this screen.

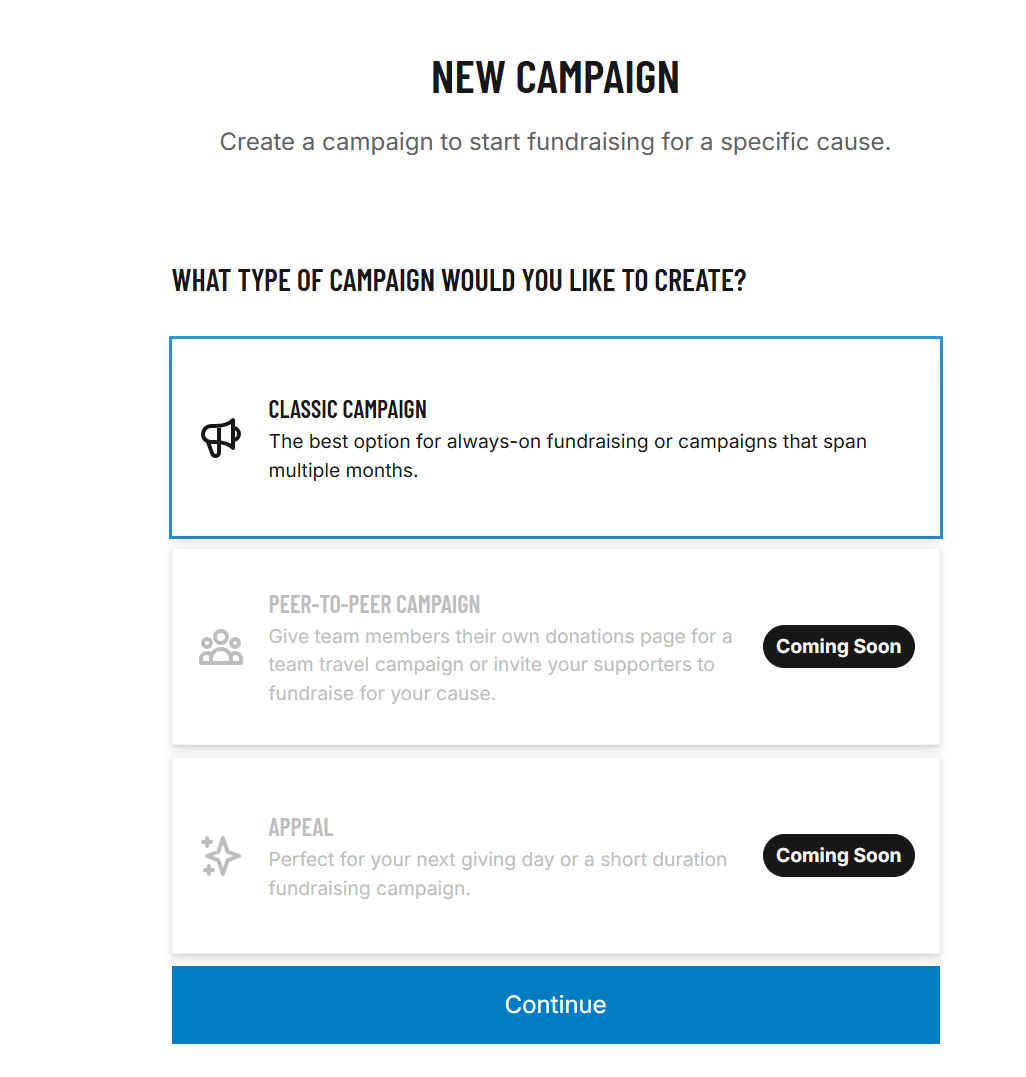
Step 3: Select the Campaign Type
Select the type of campaign you would like to create.
At present, you can select:
- Classic Campaign – the best option for ongoing fundraising or multi-month campaigns.
(Peer-to-Peer and Appeal Campaigns are coming soon.)
Click Continue to proceed.
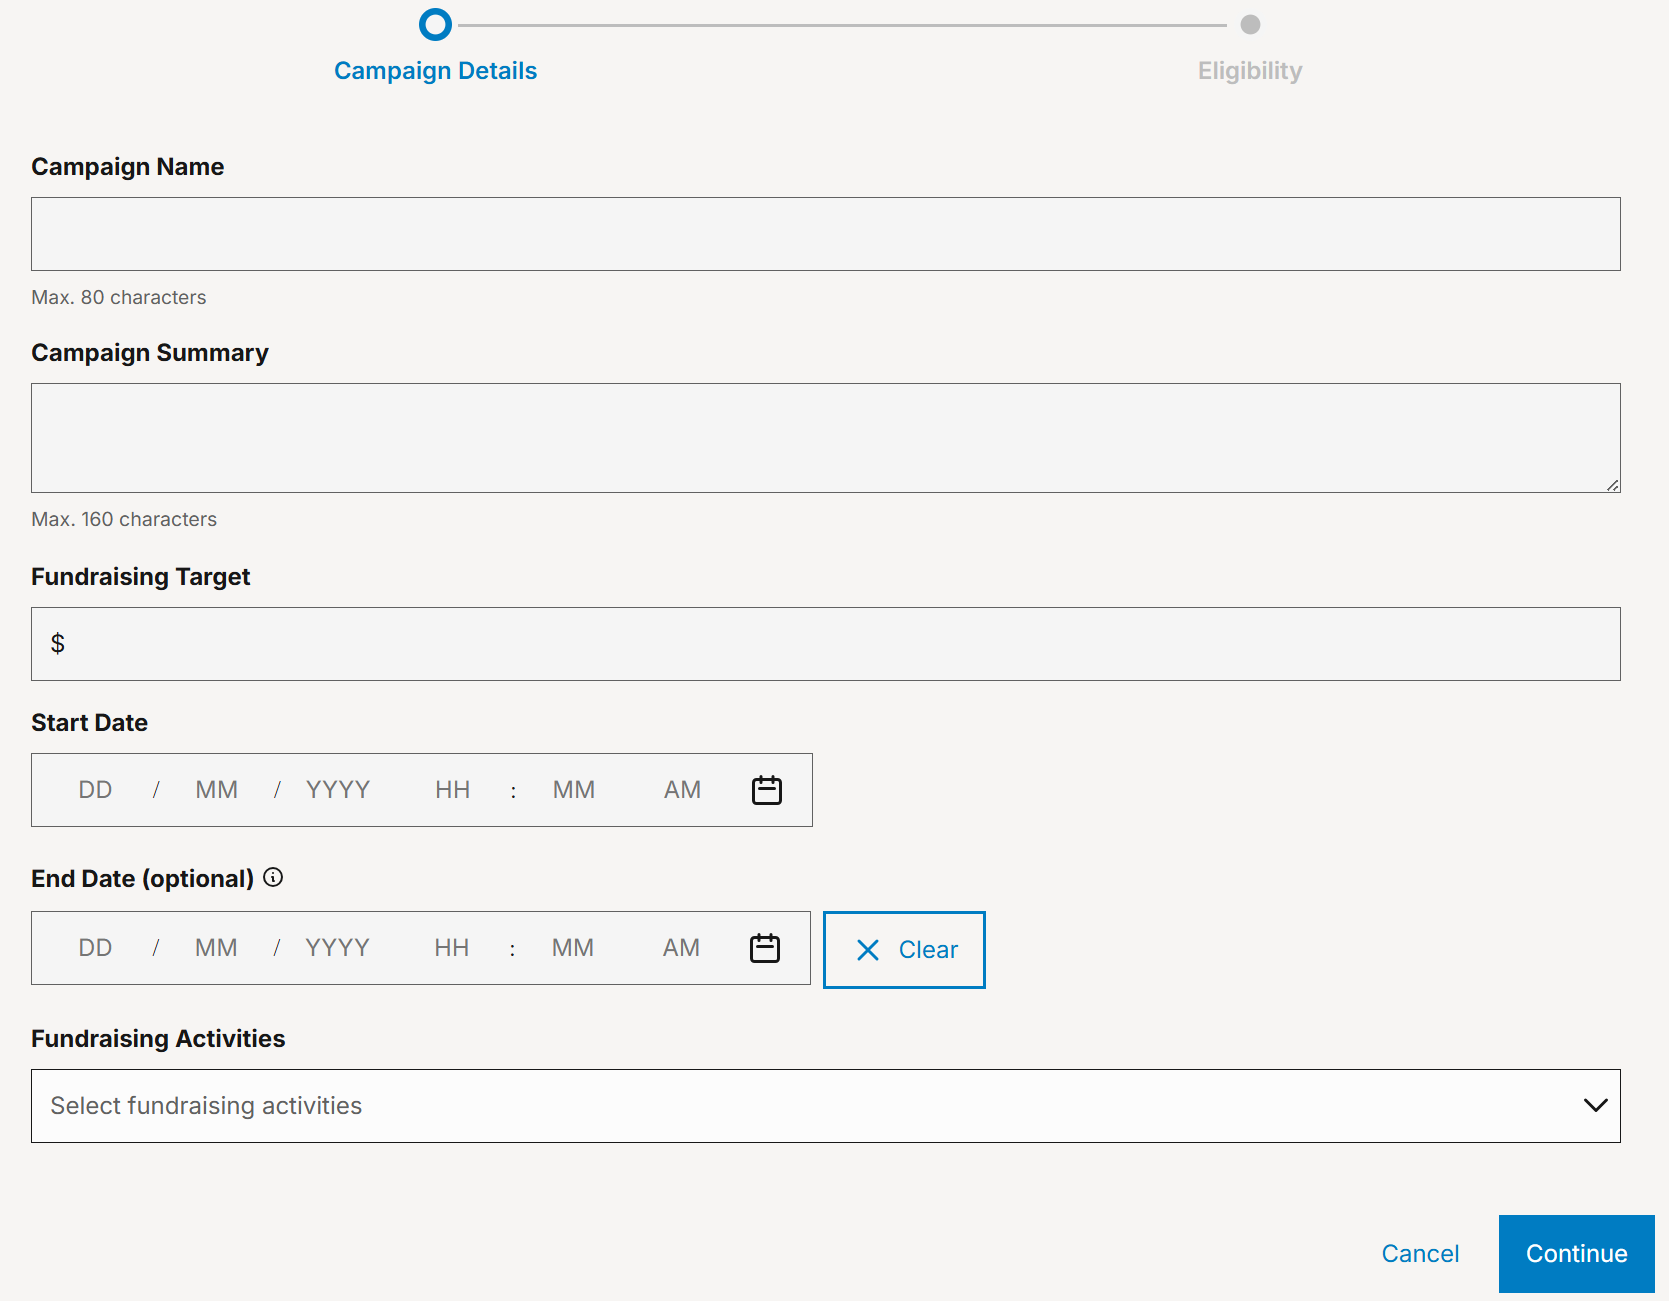
Step 4: Enter Campaign Details
Complete the following details:
-
Campaign Name (max 80 characters)
-
Campaign Summary (max 160 characters)
-
Fundraising Target - the amount you wish to raise.
-
Start Date (required) - the date and time you would like the Campaign to commence.
-
End Date (optional)
-
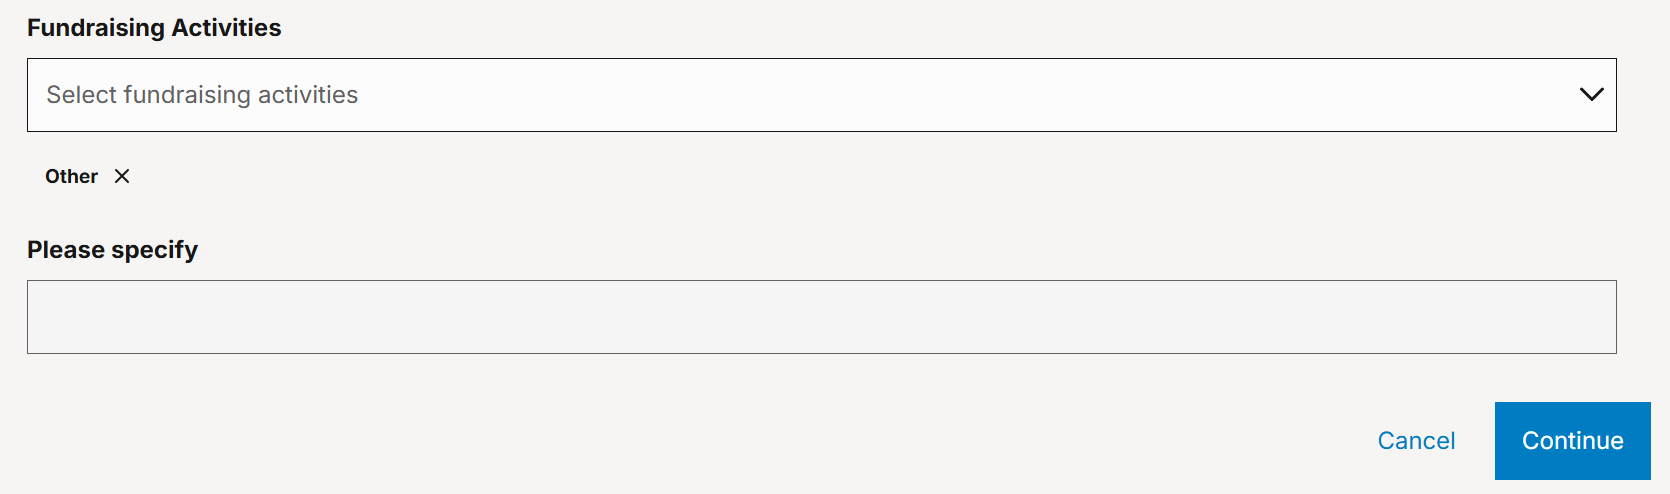
Fundraising Activities - outlines the activities that you/your organisation will seek to undertake to raise funds. (Select from dropdown, or select “Other” and manually specify)
- Note: Multiple Fundraising Activities can be selected.
Click Continue once completed.
Step 5: Complete Eligibility Information
You will then complete the eligibility section:
-
Sport (select all that apply) - You can select multiple sports from the list.
- Note: If you select “Other” please manually enter the name of the desired sport.
-
Main Fundraising Purpose - Please select a single answer
-
Main Beneficiary - There can be multiple beneficiaries of the donated funds.
-
Number of People Impacted - Select an estimate of how many people will be impacted.
Click Create Campaign to submit.

Step 6: Campaign Creation Confirmation
A confirmation message will appear once your campaign has been successfully created.
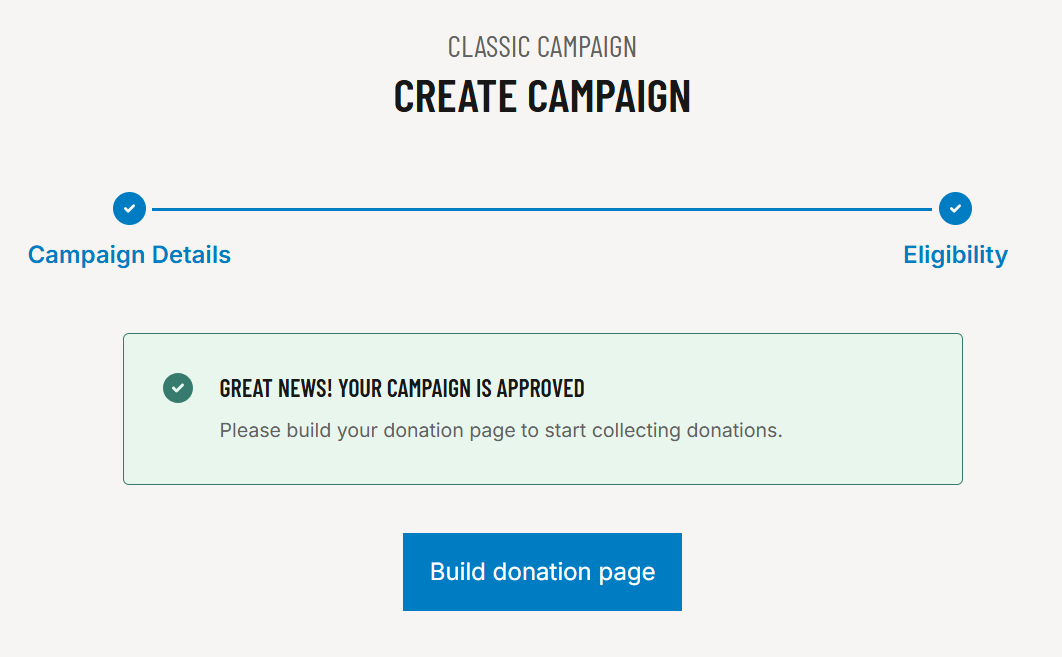
Step 7: Build Your Donation Page
After your campaign is created, you need to build your Donation Page. This is the page that donors will see when making contributions.
You can navigate to the Donation Page builder by:
- Clicking Build Donation Page immediately after creating your campaign
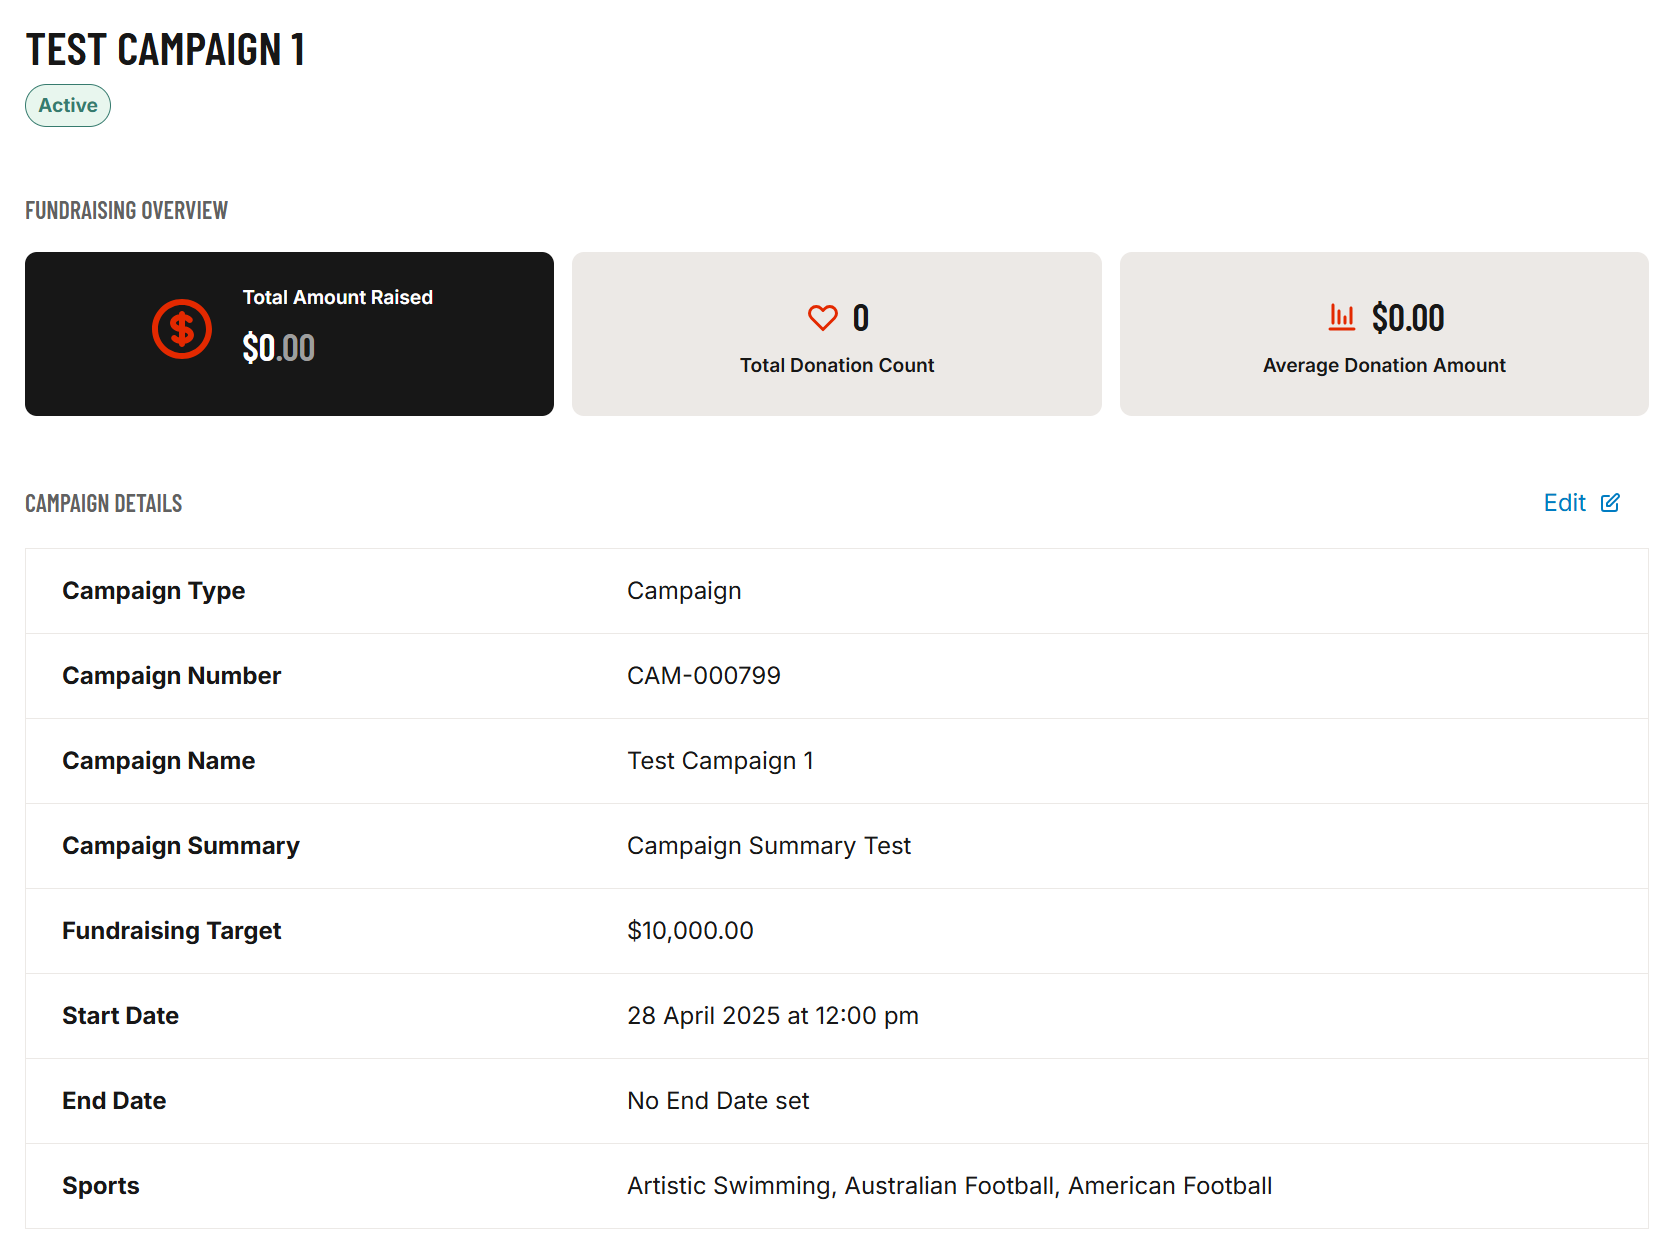
Step 8: Complete Donation Page Sections
On your Donation Page, you can:
-
View and edit your Campaign Type, Campaign Name, Campaign Summary, Fundraising Target, Start Date, End Date and Sports.
-
Edit your Campaign Vanity URL (optional)
-
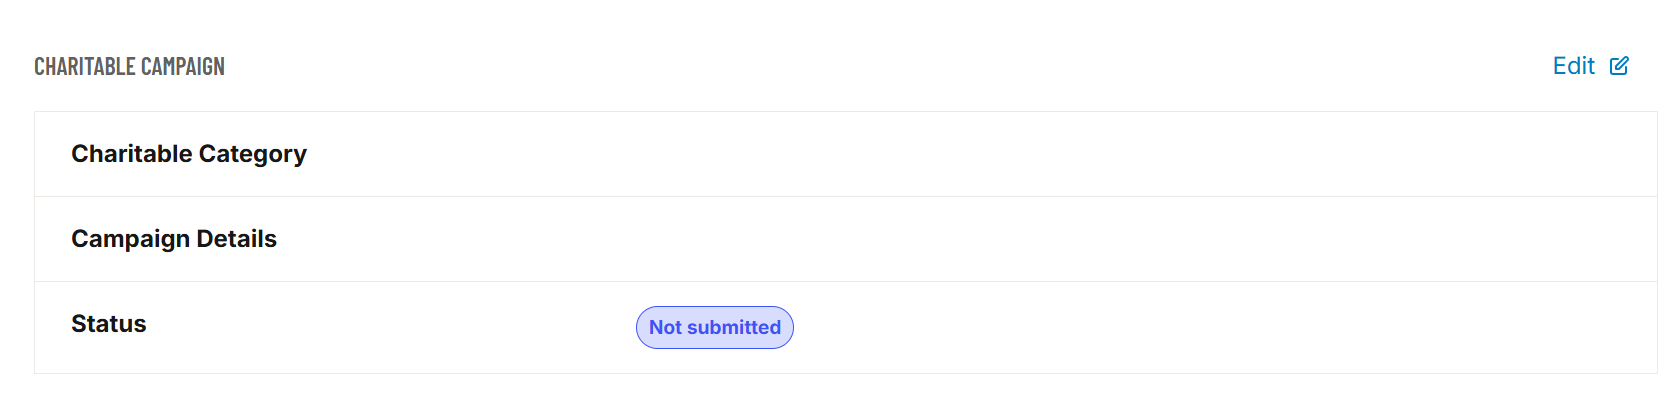
Update your Charitable Category (if applicable)
-
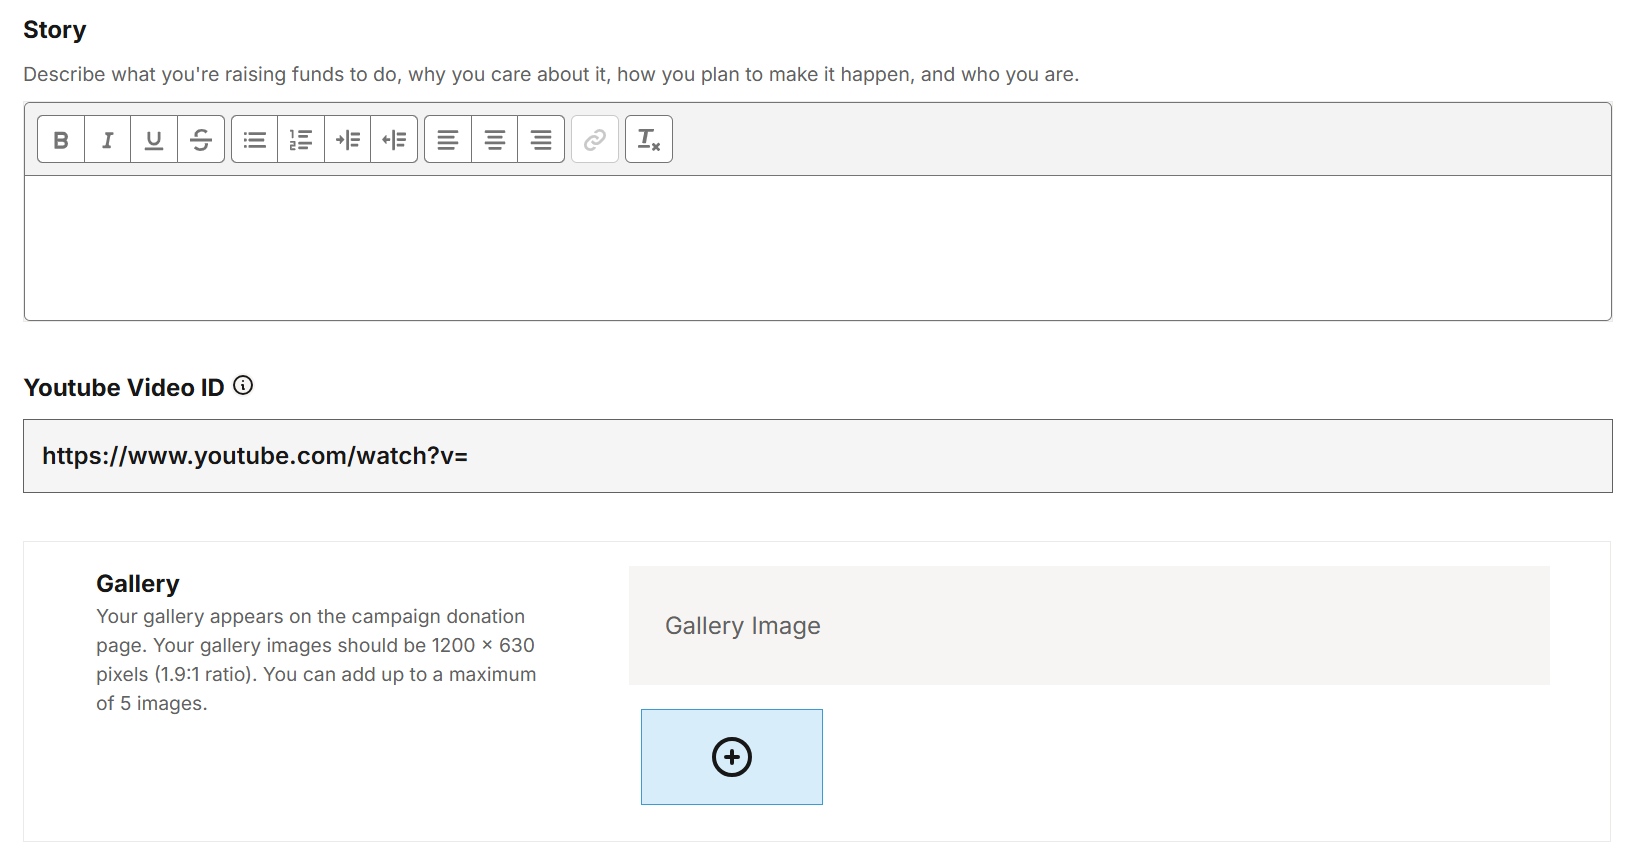
Edit your Story
-
Upload a YouTube Video (optional)
-
Add up to 5 Gallery Images
Simply CLICK EDIT next to the applicable section to update.

Step 9: Configure Donation Settings
Donation settings allow you to:
-
Optimise donation amounts
-
Enable regular giving
-
Ask donors to help cover fundraising costs
-
Set the maximum donor contribution to platform fees
-
Add a custom thank-you message for donors
-

-

Step 10: Publish and Manage Campaigns
Once everything is completed:
-
Your Campaign will show as Active on the Get Started Page AND the Campaigns tab.
-
You can manage all your campaigns at any time via the Campaigns tab.
-